Configuring SiteSeeker for EPiServer manually
11/2/2011This tutorial will walk you through the various components needed to setup SiteSeeker integration with EPiServer
In order to get started you will need the latest SiteSeeker release package which you can download from here [Insert link]
The release package consists of items:
- Documentation. Contains a chm file with the comments extracted from the code base.
- EPiServer installer. Contains a MSI file for use with the installation. Note the installer and the powershell script are digitally signed and cannot be modified.
- Examples. Contains code examples for Webforms and for MVC.
- Release Assemblies. Contains the assemblies needed for SiteSeeker to run in the EPiServer context.
- We will start working with the assemblies which are located in the release folder. Copy the assemblies and place them in the bin folder of your EPiServer website.
- Next we need to work with the website's web.config.
We have a special siteseeker configuration section component which allows the developer to configure the SiteSeeker system through web.config. (This can also be done in code as the examples in this release illustrate)
In this tutorial we will use the web.config to configure the system.
We need let the ASP.NET runtime know that we intend to add a section called "siteseeker" and who will be able to read this section ( the Type)
<section name="siteseeker" type="SiteSeeker.Configuration.SiteSeekerConfigurationSection"/>
Now we can go ahead and add our siteseeker section.
<siteseeker>
<searchIndices>
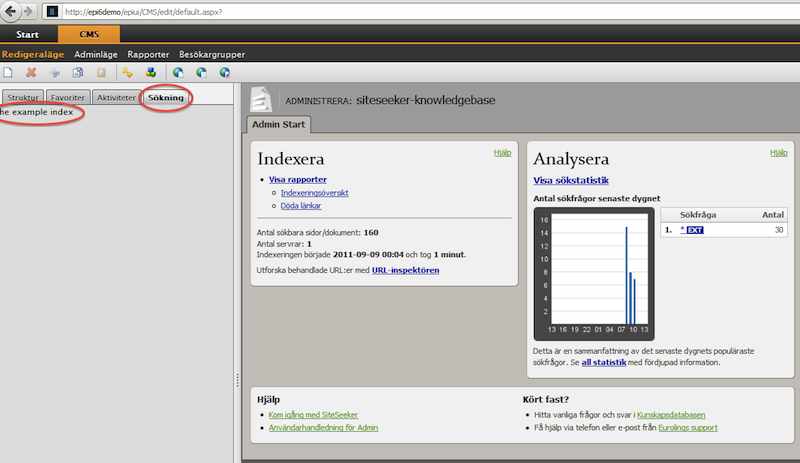
<add name="exampleSearchIndex" displayName="the example index"
url="http://siteseeker-knowledgebase.siteseeker.se/ws/siteseeker-knowledgebase" userName="ws" password="gnus5/dopier"></add>
<add name="exampleSearchIndex1" displayName="the example index1"
url="http://siteseeker-knowledgebase.siteseeker.se/ws/siteseeker-knowledgebase" userName="ws" password="gnus5/dopier"></add>
<add name="exampleSearchIndex2" displayName="the example index2"
url="http://siteseeker-knowledgebase.siteseeker.se/ws/siteseeker-knowledgebase" userName="ws" password="gnus5/dopier"></add>
</searchIndices>
<siteseeker>
We are almost there. Lastly we make extensive use of httphandlers behind the scenes. The extensions we have choosen for our internal httphandlers is .siteseeker. We need to let the runtime know who will handle request for resources with the extension *.siteseeker.
How you register an HTTP handler depends on the version of Internet Information Services (IIS) that hosts your application. For IIS 6.0, you register the handler by using the httpHandlers section of the Web.config file. For IIS 7.0 running in Classic mode, you register the handler in the httpHandlers section, and you map the handler to the Aspnet_isapi.dll file. For IIS 7.0 running in Integrated mode, you register the handler by using the handlers element in the system.WebServer section.
Inside configuration/httpHandlers add
<add path="*.siteseeker" verb="*" type="SiteSeeker.UI.FactoryHandler, SiteSeeker, Version=4.0.2.0, Culture=neutral"/>
Inside configuration/system.webServer/handlers add
<add name="siteseeker" path="*.siteseeker" verb="*" type="SiteSeeker.UI.FactoryHandler,SiteSeeker" preCondition="integratedMode"/>
Now your EPiServer instance is fully configured to take advantage of the SiteSeeker API.
Loading your edit section of EPiServer you will see the SiteSeeker plugins in action.
You have now successfully configured SiteSeeker!